A butt joint is a joint where two non-recessed edges
meet as shown below. What makes a butt joint more challenging to
finish is the fact that the tape will not sit below the surrounding
surface. I have a special procedure however that will make this
finishing and taping job a lot easier. In fact, the simple procedure below takes no more steps than a recessed joint and the result is just as good!
Step 0 - Prepare the wall for finishing. Make sure all screw heads are set below the surface. If there is more than a 1/8" gap between sheets, fill it in with joint compound or sand-able spackle. For larger gaps, a lower shrinkage sand-able spackle is recommended. Precut your paper joint tape so it is ready to go. Have a 4 or 5" metal taping knife ready for imbedding the tape and have a 12" taping knife for other steps.
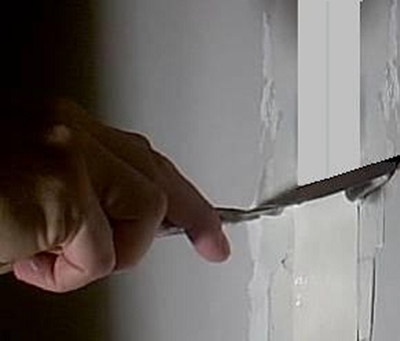
Step 1 - Generously apply joint compound over your joint so it extends 1/2" or more beyond the edges of the tape that will cover the joint. You can not have any dry spots or voids under your tape. Quickly run your paper tape through water in a bucket, and shake off any excess water. Place your paper tape over your joint centering it over the joint. Then use your 4"or 5" knife to press the tape in. Keep the knife at about a 45 degree angle and keep it moving. I like to go from top to bottom. As you press and imbed the tape, compound will be squeezed out the sides. Use just enough pressure so the excess is removed but not so much pressure that you squeeze out all compound and leave a dry spot under. See Fig 1. The tape should be level with no dry spots of voids under it.
Video of Me Imbedding Drywall Tape
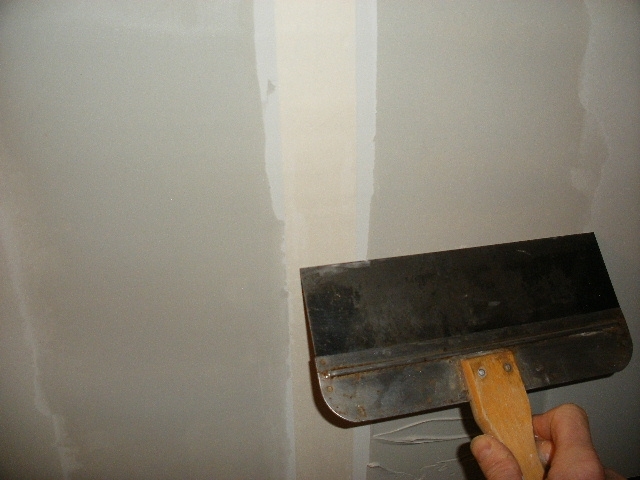
Step 2 - After the compound used in Step 1 is dry, use a taping knife to knock off or scrape off any bumps or ridges of compound that stick up - be careful not to tear or shred the tape. Place a 6" to 7" wide coat of compound on each side of the tape, as shown in figure 2. Then skim off with your 12" (or 10") knife. These two coats build up the surface and allow you to cover the tape in subsequent steps.
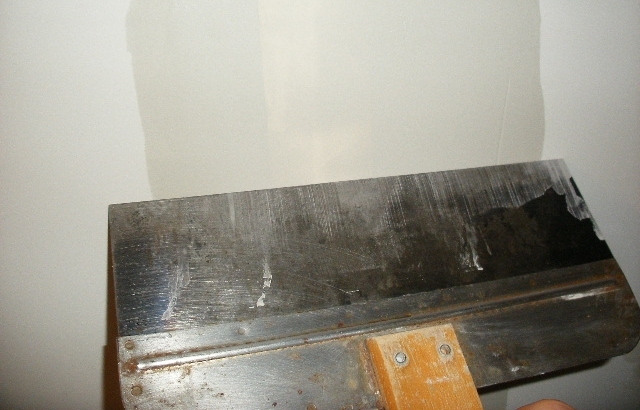
Step 3 - After the compound is dry from Step 2, again knock and scrape off any bumps or ridges. Ridges may be removed by scraping perpendicular to the ridge with your taping knife. Getting the surface level is very important! You should level out the surface this way for each of the remaining steps, before you place more compound on! Do not sand until ALL coats are on, and then only lightly if at all. Now, place an 8" wide coat down the middle. This coat should just barely cover your paper tape - if a little paper is still showing, don't fret, as you will repeat this process in subsequent steps and then for sure the paper tape will be covered.
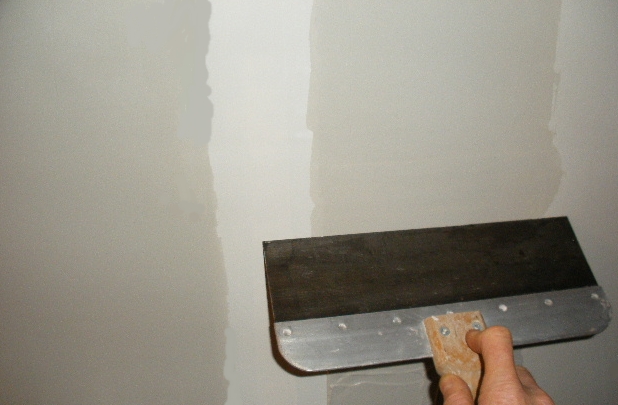
Step 4 - Scrape off any bumps or ridges. Then, apply a 9” wide coat on each side of the coat of Step 3. You will be overlapping the coat you just put on and extending the coat of Step 2. Skim off the coat with your 12" taping knife, as shown in Fig. 4. Your total width of all coats will now be about 21" wide! In the next step, you will bridge these two coats with a coat down the middle..
Step 5 - Scrape off bumps or ridges.Then, apply a 9-10” wide coat to bridge the two coats of Step 4. You will place this coat in the center, as shown in Fig 5. This will be your last major coat.down the middle, bridging the 2 coats of Step 4. See Fig 5.
Step 6 - Knock off bumps and ridges of the dried coat of Step 5. Ridges may be removed by scraping them perpendicular to the ridge. Then fill in any depressions with slightly thinned out compound applied and skimmed off with your 4" or 5" taping knife. Also,along the outside edges, apply a light coat, as shown in Fig 6 to extend your finished coat out to nearly 26" wide. Use a trouble light to inspect your surface for ridges, waves, or depressions and fill accordingly with light coats.
When you have your final surface all level, as described in these 6 steps, you may forgo sanding altogether if you are applying texture or a thick nap paint finish. But for typical painting, I will lightly sand with a 3.5" by 8" sanding block (2x4 works fine) and 200 grit sand paper. Lightly sand with a random motion. You are merely touching up the surface, not removing any significant amount of compound.
Prime your surface with a suitable primer and then paint. Here is the final painted wall that I documented for this page - it turned out great!
Click Ctrl D to Bookmark
This Page! Tell Your Friends! Click On Share Button =>