|
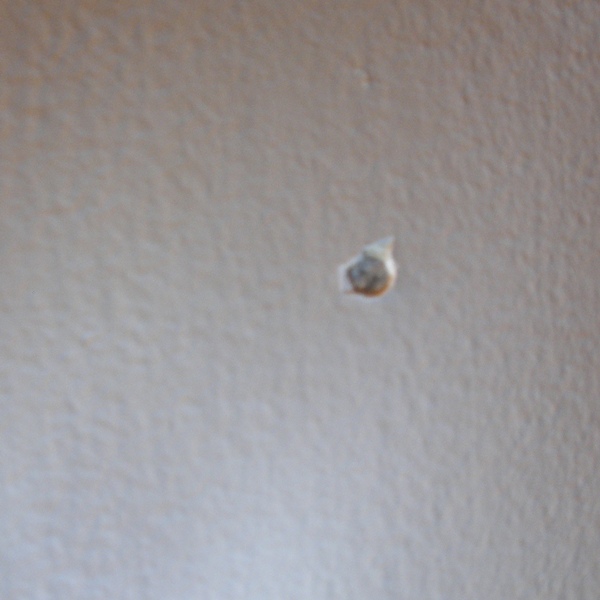
In an older home with drywall walls, the drywall will be nailed to the studs rather than fastened with screws. With time, the home shifts with seasonal changes in temperature, which will cause the drywall nails to will work their way out. This results in upraised regions and even regions like the one shown at the right where the paint chips off leaving a bare nail.
These are known as "nail pops". This page describes a foolproof method for not only repairing nail pops in drywall, but also a way to make sure the offending nail does not work its way out again.
|

|
Step 1
- Drive in one or two "star drive" deck screws as close to the nail as possible so the head of the screw drives in the nail. Make sure to use star drive deck screws rather than regular drywall screws. The star drive allows you to easily drive in the screw into the wood with the force needed to drive in the nail. If you use phillips head drywall screws, the bit will slip and/or the head may shear off under the extreme torque. The heads of the screws should be below the surface of the wall.

|
 |
Step 2
- Place a coat of drywall joint compound over the depression where you drove in the screws. Allow this to dry. You can speed up this drying time by using a hair dryer to dry up the compound. Just make sure not to get the painted surface too hot so as to blister the paint.
NOTE: You can speed this up a lot by using a sandable patching plaster as seen in this blog post! It will dry faster and shrink less!
CLICK ON ANY IMAGE TO SEE ENLARGED VIEW |
 |
Step 3
- Place another light coat of compound that covers the region containing the screw depressions and overlap it a little. Allow this coat to dry thoroughly. |
 |
Step 4
- Sand the wall smooth so your compound is almost flush with the wall. Use a light grit (like 200 grit) paper on a flat sanding block. Sand in a circular motion and do not sand any of the paint layers off the wall. |
 |
Step 5 - Wipe the wall down to get rid of the dust with a damp clean rag. Prime the wall with any primer suitable for interior drywall. A foam brush works fine for this purpose if you dap the primer on rather than using strokes. Otherwise, for the best results, use a paint roller. If you have an entire wall full of these nail pops, I would recommend you reprime the whole wall. |
 |
Step 6
- Paint the area you primed using a roller. For this single nail pop, I used a mini-roller - it gives good results with a lot less cleanup. Again, if you have a whole wall full of nail pops, repaint the entire wall for best results.
|
 |
Finished!
- If you do this right, the nail pop will be gone. Forever!
|