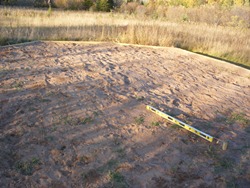
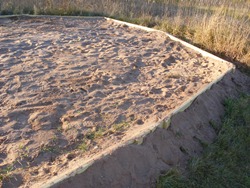
Step 1 - Prepare a level site for your ice skating rink.
You may need to bring in fill or sand, or you may need a bulldozer to scrape the site level. But however you do it, you must have a level site. We chose to make about a 50 ft by 25 ft skating area - this is probably as small as you will want it for figure skating. The cost of the sand was about $100.
Click on any of the images on the right for a larger view.
|
 |
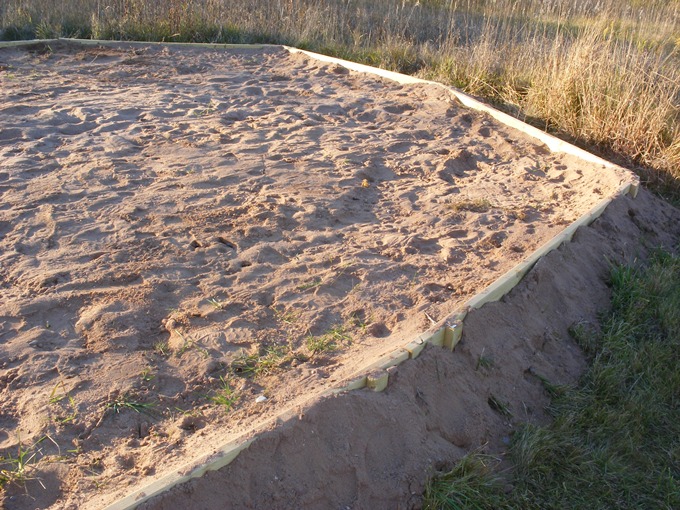
Step 2 - Create a border around the perimeter for your rink.
You can use any boards, but we used treated 2x4's, held in place with stakes fastened to the back of the 2x4's. Use a level on a masons cord that runs from each side to a center post to get all the sides level with the center. Make sure there is sand on each side of the 2x4's to create a barrier. The cost of the two by fours was about $40. We made the stakes from scraps of treated wood. As an option, you could simply create a "bank" of sand all the way around the perimeter instead of using the 2x4's. All that is needed is a level depression for the tarp to sit in with banked edges.
|
 |
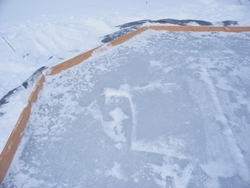
Step 3 - Line ice skating rink with large tarp.
You can get a 30' by 50' tarp for about $110 at a home store or online plus shipping. Get the heavier duty tarp. I got ours at a Menards home store for about $100. Lay the tarp in the area and secure the edges with blocks or weights to keep the edges from flopping up. You can use snow (if there is any) to provide some additional "banking", as shown in the illustration on the right.
|
 |
Step 4 - Fill ice skating rink with water. Insert protective edging of some type.
Fill your rink with water and insert some sort of protective edging - if you do not put some sort of edging, skaters will tear up the tarp at the edges. Leave some room to add more water later, in case the surface gets ruined by freezing wet snow. The edging could be old carpet strips or wood pieces. We used 2x4's that we got on sale, as shown right. After the ice freezes, the edging will be frozen in place as well. When you are done filling the rink, immediately disconnect all hose, blow out remaining water, and take the hose sections indoors!
|
 |
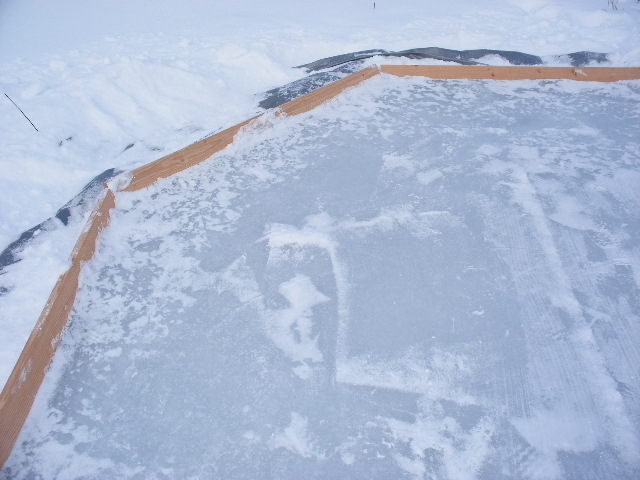
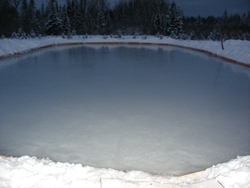
Step 5 - Add more water to the top, if needed.
Should the weather wreck your surface, as it sometimes will, you can easily fix by adding a smooth layer of ice over the top. Wait for temperatures to get at least into the high 20's with a cold clear night to follow, and use a garden hose to add water over the top. If you try to add water when it is near zero, it will freeze up too fast, leading to a rough surface. I added some water at 30 deg F and ran hot water for the last 10 minutes - it turned out pretty nice, as shown right. And remember to drain and store your hoses immediately!
|
 |
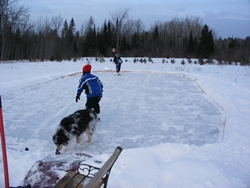
Step 6 - Enjoy!
Your skating rink will provide a lot of enjoyment and exercise for you, your kids, and the neighbor kids!
|
 |
Search Drywallinfo Using Search Box Above!
Copyright 2014 - Michael Sakowski -
More Info -
Privacy Policy
- Decorative Wall Art
|