Corners larger than 90 degrees are
common in vaulted and cathedral ceilings and on some walls. Often you will get 135
degree corners or even 150 degree corners. They are difficult to
finish since unlike 90 degree corners where the two pieces form a
straight corner, these larger angle corners are not always straight.
In fact, there will always be a slight gap where the pieces meet.
If you tape this type of corner like a 90 degree corner with regular
paper tape, the joint can wander back and forth. So we must use a
special procedure and a special type of stiff flexible corner tape
such as Strait Flex. Strait Flex
is available at Menards Home stores and other home stores in 100 foot
rolls. Or, you can get
.
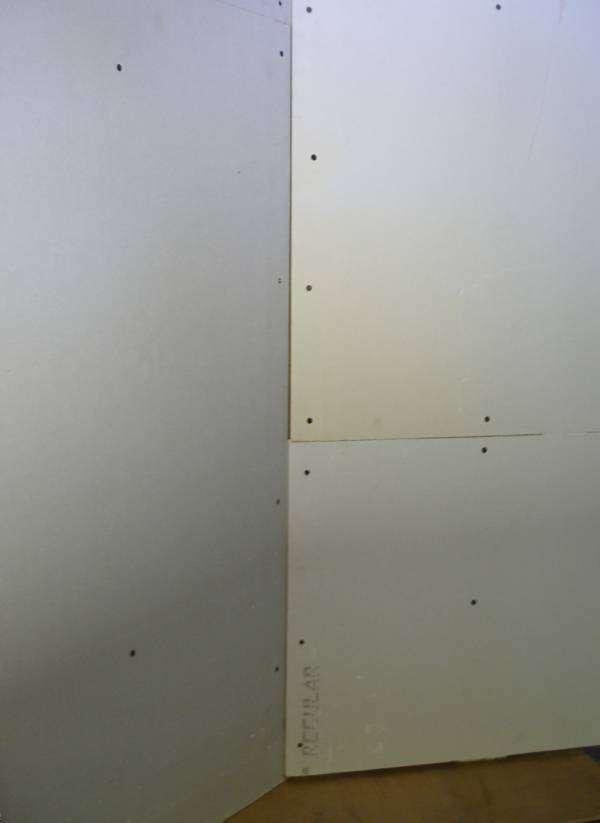
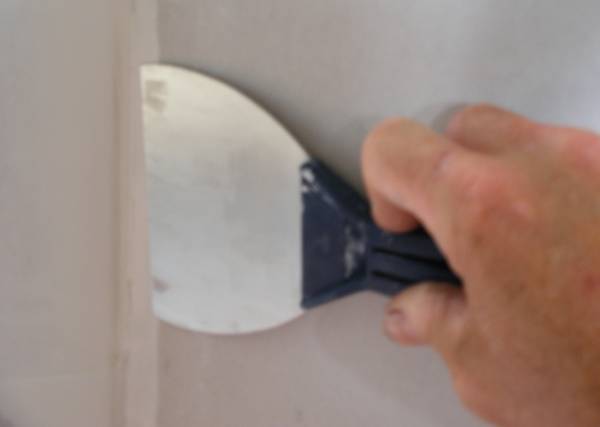
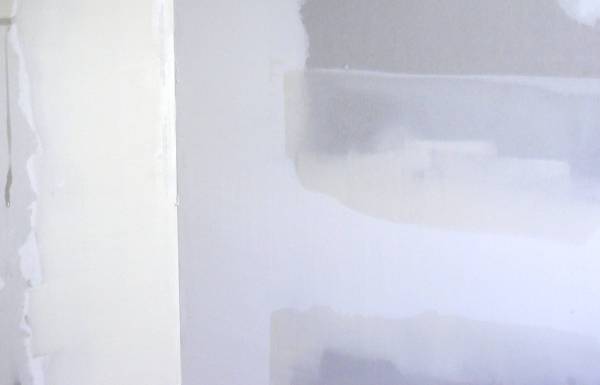
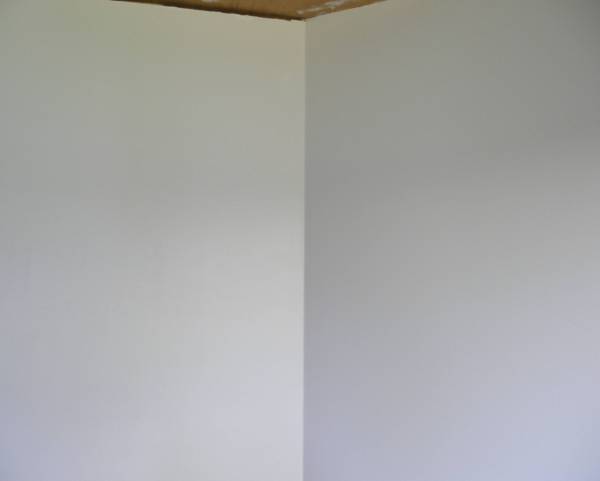
In the lower right photo you can see the gap where
one piece butts up against the second piece. As an added
challenge, there is a butt joint on one side of this wall.
Click On Photo To Enlarge
Click On Photo To Enlarge
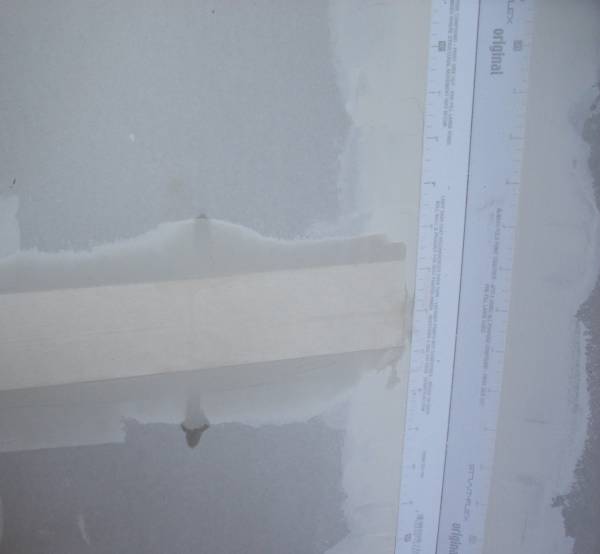
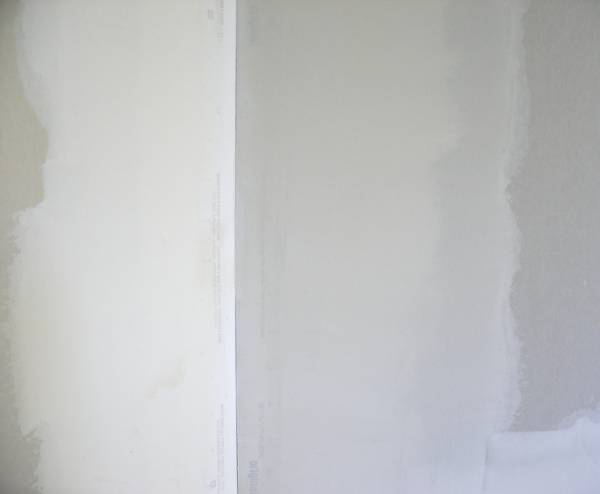
Step 1
- Fill in the gap at the corner with a coat of mud. (Since doing this tutorial I have found that a low-shrinkage sandable patching plaster or spackle will work a bit better for filling the gap - see this blog post) Otherwise,
the mud might shrink so much as to pull away from the tape.
Also, the directions on the flexible tape call for it. I filled the
gap by applying mud with my 4.5" knife and then scraping level with
the knife. Then remove as much of the excess as possible.
Any remaining excess will be removed after this dries.
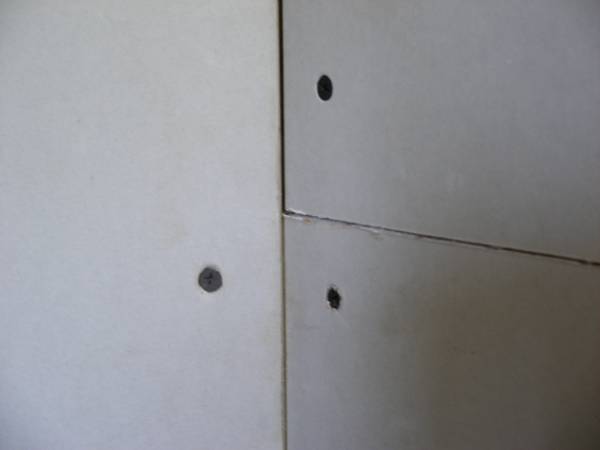
In the lower photo, you can see that the gap has been
filled.
Click On Photo To Enlarge
Click On Photo To Enlarge
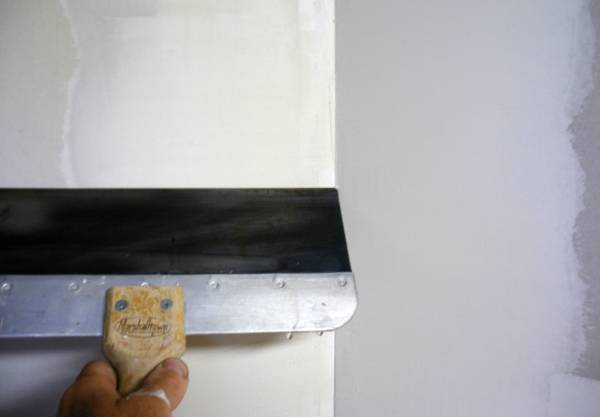
Step 2
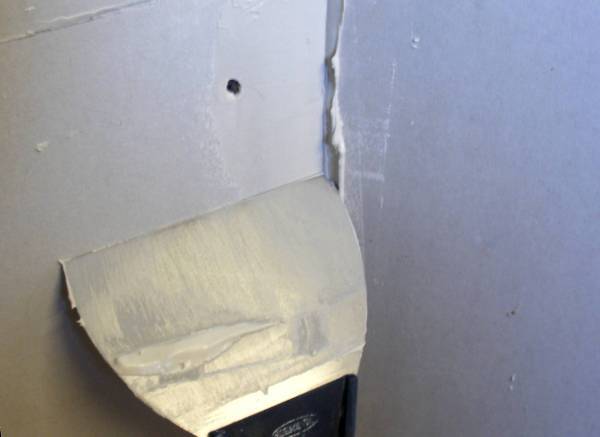
- Scrape off any chunks of mud sticking up from step 1. I scraped with
the blade nearly flat against the wall and scraped toward the corner
from each direction as shown on the top right. It is important that no
bumps of mud are left in the corner!
Cut your tape to size. Then, apply enough compound
so it is about an inch wider than the joint tape on each side. I
wet down the tape with a damp spongue although the directions do not
call for this. I applied the tape as straight as possible and
then squeezed out the excess mud on each side. Make sure you do not
leave any thin spots! This corner tape is fairly stiff and will
not conform like regular paper tape.
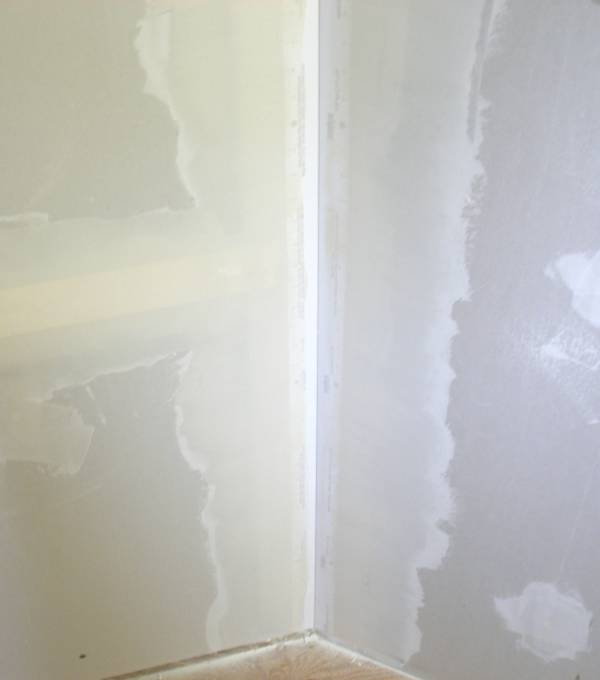
You can apply tape to any joints running
perpendicular into the corner (with regular paper tape) after you
apply the corner tape. You can let the corner dry and sand off
where the tape will go near the corner, or if you are careful you can
apply the tape right away. Cut the regular paper tape about a
half inch short of the corner tape.
A picture of the taping product is shown directly
below.
Here is a pic of the Strait Flex Tape
Click On Photo To Enlarge
Click On Photo To Enlarge
Click On Photo To Enlarge
Step 3
- Place a coat that extends from near the corner to several inches
beyond the edge of the tape. Do this on both sides of the tape. Make
sure to skim the coat off good so as not too leave a large build up of
compound on the tape.
Place a coat over your horizontal joints, if you
have any.
Click On Photo To Enlarge
Step 4
- Place a coat of mud that extends all the way from the corner to an
inch or two beyond the previous coat. Use the rigid corner as a guide
for your taping knife and skim off the mud. Let this dry
before doing the other side of the corner!
Knock off any bumps or ridges and place a coat of mud on the other
side of the corner in the same manner. You will find that this
special corner tape provides a nice solid and straight surface to
guide your knife.
Place a coat on each side of your horizontal joints
at this time as shown below.
Place a coat of mud on each edge of the butt joint
This is a coat of mud on one side
Placing a coat of mud on the 2nd side
Step 5
- Knock off any bumps and ridges. Then, place a coat of mud on each
side of the corner as shown. Also, place a coat down the middle
of your butt joints if you have any.
The Last Coats! (Except for touch-up)
Step 6 - Knock off any bumps on your surface with your taping
knives. Then, inspect the surface with a lamp or trouble light.
This will reveal any drag marks, pinholes, or small pockets to be
filled. Fill drag marks with a very light thinned out coat using
your 4.5" knife. You should not be adding a lot of mud here, but
rather simply filling in defects.
The Trouble Light Reveals Drag Marks
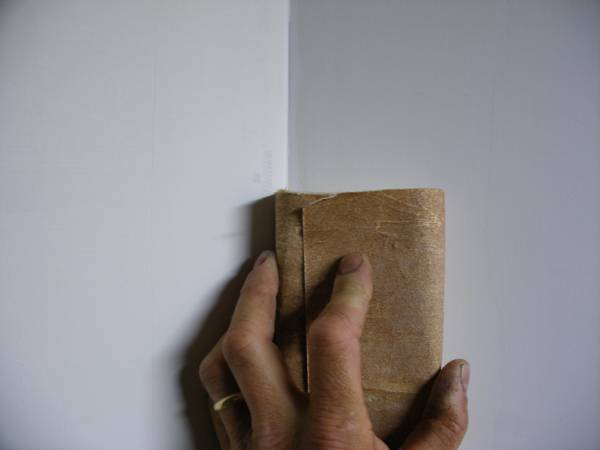
Step 7
- Use a sanding block sand at the corner with some medium 100-200 grit
sand paper. Make sure to place pressure at the corner and be careful
not to sand out a "channel" the width of your sanding block.
Use 220 grit paper and a sanding block and use a
circular motion to lightly sand the rest of the wall. You
should not be removing a significant amount of compound but simply
touching up the final coat.
Inspect again with a trouble light and touch up if
needed.
Sand at the Corner. Lightly Sand The Rest.
Step 8
- Clean the dust off your wall. Then prime and paint.